|
PAGE ONE - This page gives some details about the Barracuda and its history. There are photos of all sides of the car,photos of the short block in the car and the empty engine compartment, and shots of the greasy engine as it was pulled out. There is a photo of wreck damage to the left front fender. There are photos of the heads that have been in storage for 20 years after they were rebuilt. There is a photo comparing the original carburetor that was destroyed in storage and a NOS carburetor that someone gave me. There are photos of the automatic transmission and the gas tank. Links to other web articles are located on Page One |
|
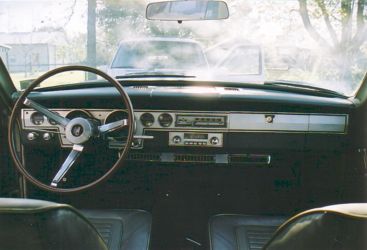
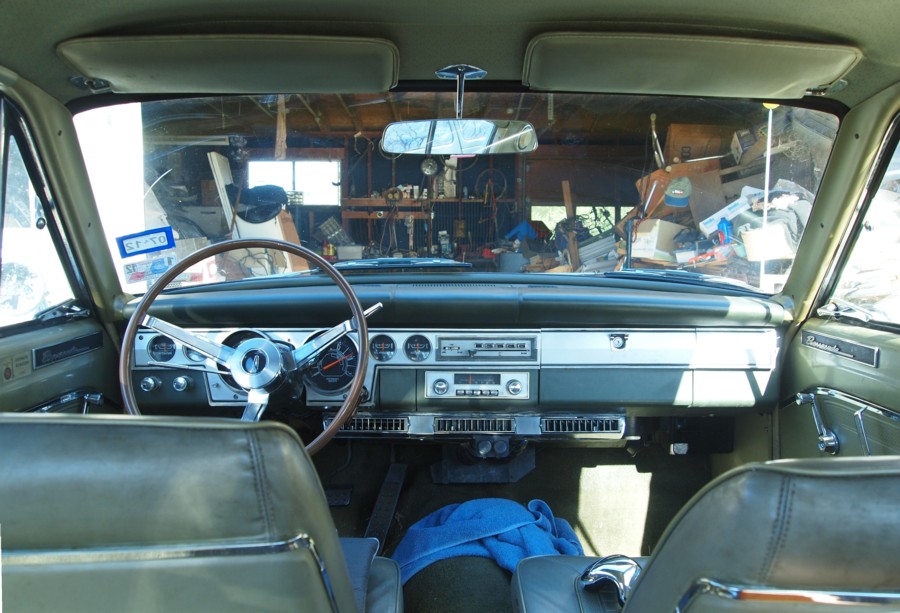
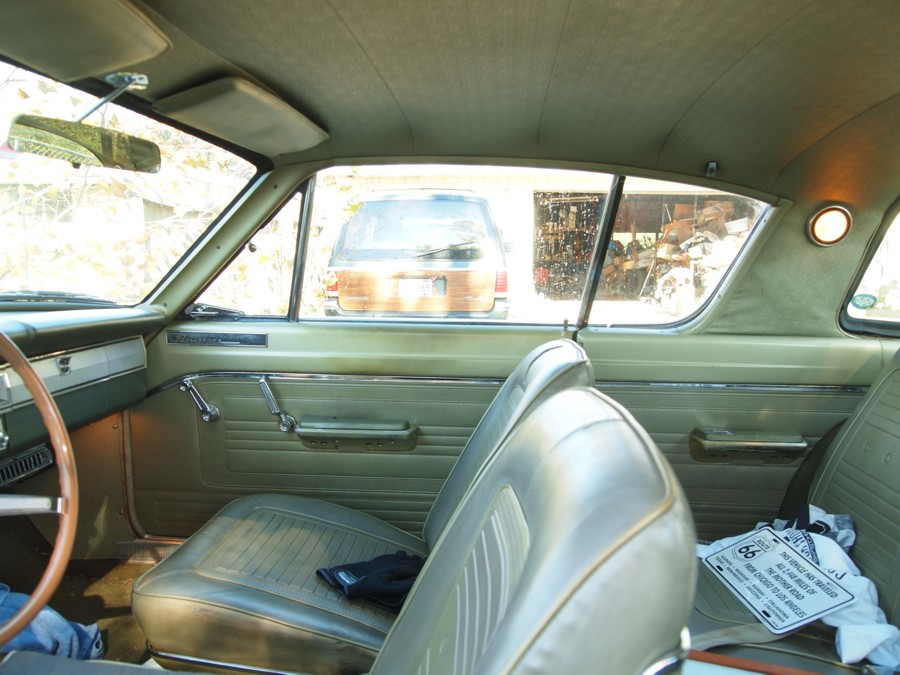
PAGE TWO - Page two has more detailed photos of the exterior and interior of the car. The pinstripes are shown and the dash and instrument panel. Front bucket seats and folding back seat and trunk panel. Photos of grille sections and taillight. |
|
PAGE THREE - This pages has photos of the engine rebuilding work in progress at Cookie's Auto Machine Shop. It shows the bare short block, piston installation, and Cookie at work. |
|
PAGE FOUR - Page four has 14 images showing the completed engine after it was painted and then after the exhaust manifolds, pulleys, fan, brackets, distributor, coil, and such had been re-installed. It seemed to be easier to install all those things before putting the engine in the car. My only concern is fitting the left manifold around the steering column while dropping the engine in. |
|
PAGE FIVE - Page five has photos and comments of the engine re-installation. I demonstrate that I can carry the transmission (without the torque converter). There are a couple of photos of the clean engine compartment before the engine was installed and then a couple more of the engine after it was installed. I photographed the antifreeze warning and battery charge warning decals on the radiator support panel. |
|
PAGE SIX - Page six has a photo of the Barracuda parked out in the driveway on the first day of spring 2004 and closeups of the carburetor as it is installed and the engine compartment with the engine in running configuration. It has been driven about 15 miles since the overhaul. There is a photo of the bottom of the car and of the left rear axle and brake parts with the wheel and brake drum removed. |
|
BRAKES - Photos of complete rebuild of front drum brakes including removal of backing plate and regreasing bearings. Photos of back brakes and bearing plus back brake hose. |
|
Alternator Wiring - Photos showing every connection from battery to alternator power output terminal and wiring through the voltage regulator to the field connection on the alternator. The wire I.D. numbers for the shop are given along with wire gauge and wire insulation color. |
|
Instrument Panel Removal and Disassembly - This page shows photos of the instrument panel partially removed from the dash and the various connections that are made there. It also has detailed photos of the instruments and the printed circuit boards on the back and details of the speedometer mechanism. |
|
A-Body Gas Cap Replacement - Photos of combining an old replacement cap and a new Stant 11811 cap to make a usable replacement for the original. |
|
Original 66 Barracuda Radiator Photos - Photos of my original radiator. |
|
1966 Barracuda Owners Manual - Selected pages from my owners manual. |


 The rear view above shows what I have always assumed was damage from the engine exhaust. The crimped edge of the trunk at the left corner just above the exhaust pipe began to rust while the car was still relatively new. The chrome on that end of the bumper is very dull, and the crome on the left taillight housing is more pitted than the right. The dent near the middle of the bumper was caused by backing into a metal post. The long dent in the body above the right side of the bumper was done by someone in a bank parking lot. When the Valiant was first produced for the 1960 model year, Chrysler considered it a separate line. Within a year or two, Valiants (and thus Barracudas) were folded into the Plymouth line. My 1970 Plymouth Fury uses identical letters. The registration ran out in May 1986. The same license plate was on the car in June 1982 when the car was photographed at the